How to clean the pedal of a pedal trash can?
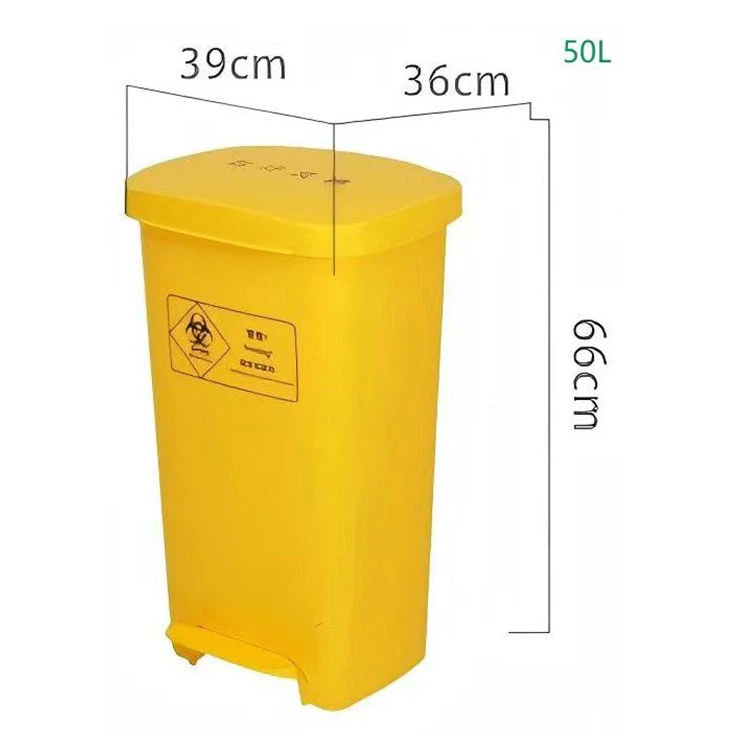
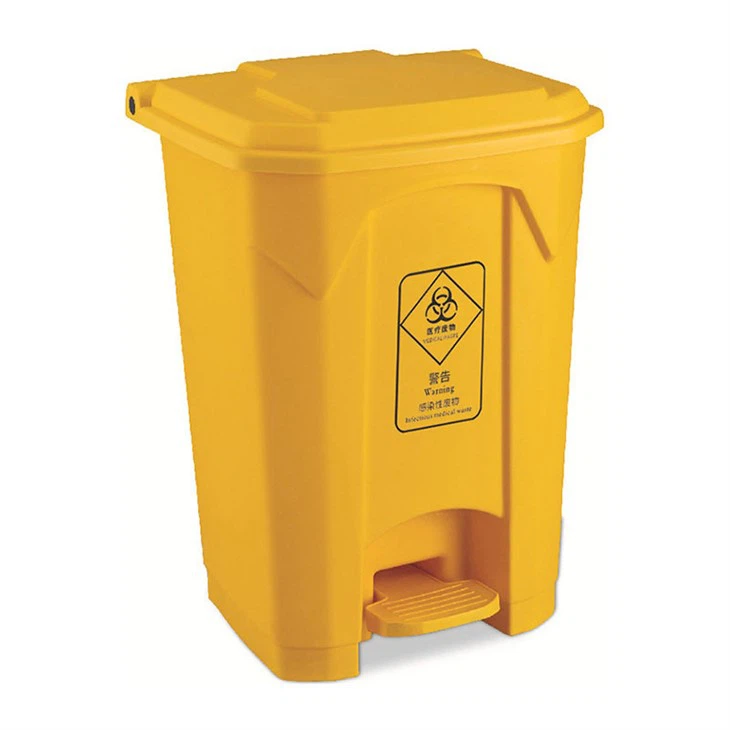
As a supplier of pedal trash cans, I understand the importance of maintaining the functionality and cleanliness of these essential household and commercial items. One crucial aspect of pedal trash can maintenance is cleaning the pedal, which is often overlooked but plays a significant role in the overall performance and hygiene of the trash can. In this blog post, I will share some effective tips on how to clean the pedal of a pedal trash can, ensuring its longevity and optimal operation.
Why Cleaning the Pedal is Important
The pedal of a pedal trash can is constantly exposed to dirt, grime, and bacteria from our feet. Over time, this buildup can not only make the pedal look unsightly but also affect its functionality. A dirty pedal may become sticky or difficult to press, making it inconvenient to use. Additionally, the accumulation of bacteria on the pedal can pose a health risk, especially in environments where hygiene is a top priority, such as hospitals and kitchens.
Tools and Materials Needed
Before you start cleaning the pedal of your pedal trash can, gather the following tools and materials:
- Mild dish soap or a specialized cleaner
- Warm water
- Soft-bristled brush or sponge
- Microfiber cloth or towel
- Optional: Disinfectant spray
Step-by-Step Cleaning Process
Step 1: Empty the Trash Can
Before cleaning the pedal, make sure to empty the trash can to prevent any spills or messes. Remove the trash bag and dispose of it properly.
Step 2: Prepare the Cleaning Solution
Fill a bucket or sink with warm water and add a small amount of mild dish soap or a specialized cleaner. Mix the solution well until it forms a soapy mixture.
Step 3: Remove Loose Debris
Use a soft-bristled brush or sponge to gently remove any loose debris, dirt, or dust from the pedal. Pay special attention to the crevices and corners where dirt tends to accumulate.
Step 4: Soak the Pedal
If the pedal is removable, carefully remove it from the trash can and soak it in the cleaning solution for a few minutes. This will help loosen any stubborn stains or grime. If the pedal is not removable, dampen a sponge or cloth with the cleaning solution and gently scrub the pedal.
Step 5: Scrub the Pedal
Use a soft-bristled brush or sponge to scrub the pedal thoroughly, paying attention to all surfaces and edges. Focus on areas with visible stains or dirt buildup. Be gentle to avoid scratching the pedal.
Step 6: Rinse the Pedal
Once you have scrubbed the pedal, rinse it thoroughly with clean water to remove any soap residue. If the pedal is removable, hold it under running water or place it back in the sink and rinse it with a hose. If the pedal is not removable, use a clean, damp cloth to wipe away the soap residue.
Step 7: Dry the Pedal
Use a microfiber cloth or towel to dry the pedal completely. Make sure there is no moisture left on the pedal, as this can lead to rust or corrosion over time.
Step 8: Disinfect the Pedal (Optional)
To ensure maximum hygiene, you can use a disinfectant spray to sanitize the pedal. Spray the disinfectant evenly on the pedal and let it sit for a few minutes according to the product instructions. Then, wipe the pedal dry with a clean cloth.
Step 9: Reattach the Pedal (if removed)
If you removed the pedal for cleaning, carefully reattach it to the trash can according to the manufacturer's instructions. Make sure it is securely in place and functions properly.
Tips for Maintaining a Clean Pedal
- Regular Cleaning: Make it a habit to clean the pedal of your pedal trash can regularly, at least once a week or more frequently in high-traffic areas.
- Use a Trash Bag Liner: Using a trash bag liner can help prevent dirt and debris from sticking to the pedal and the inside of the trash can.
- Avoid Harsh Chemicals: When cleaning the pedal, avoid using harsh chemicals or abrasive cleaners, as these can damage the pedal's surface.
- Keep the Area Around the Trash Can Clean: Regularly clean the area around the trash can to prevent dirt and debris from being tracked onto the pedal.
- Inspect the Pedal Regularly: Check the pedal for any signs of damage or wear and tear. If you notice any issues, such as a loose pedal or a broken spring, contact the manufacturer for repairs or replacement parts.
Conclusion
Cleaning the pedal of a pedal trash can is a simple yet essential task that can help maintain its functionality, hygiene, and appearance. By following the steps outlined in this blog post and implementing the tips for maintenance, you can ensure that your pedal trash can remains in top condition for years to come.
If you are interested in purchasing high-quality pedal trash cans for your home or business, we offer a wide range of options, including Clinical Waste Bin, Black Garbage Can, and Cheap Trash Cans. Contact us today to discuss your specific needs and explore our product offerings. We look forward to serving you!
References
- Manufacturer's instructions for pedal trash can cleaning and maintenance.
- General knowledge of household cleaning and hygiene practices.